Assembly Instructions
Green Horde Abominations Box – Assembly Instructions

The large abominations box is relatively similar to the standard slide in trays, however miniatures slide in to all sides of the tray.
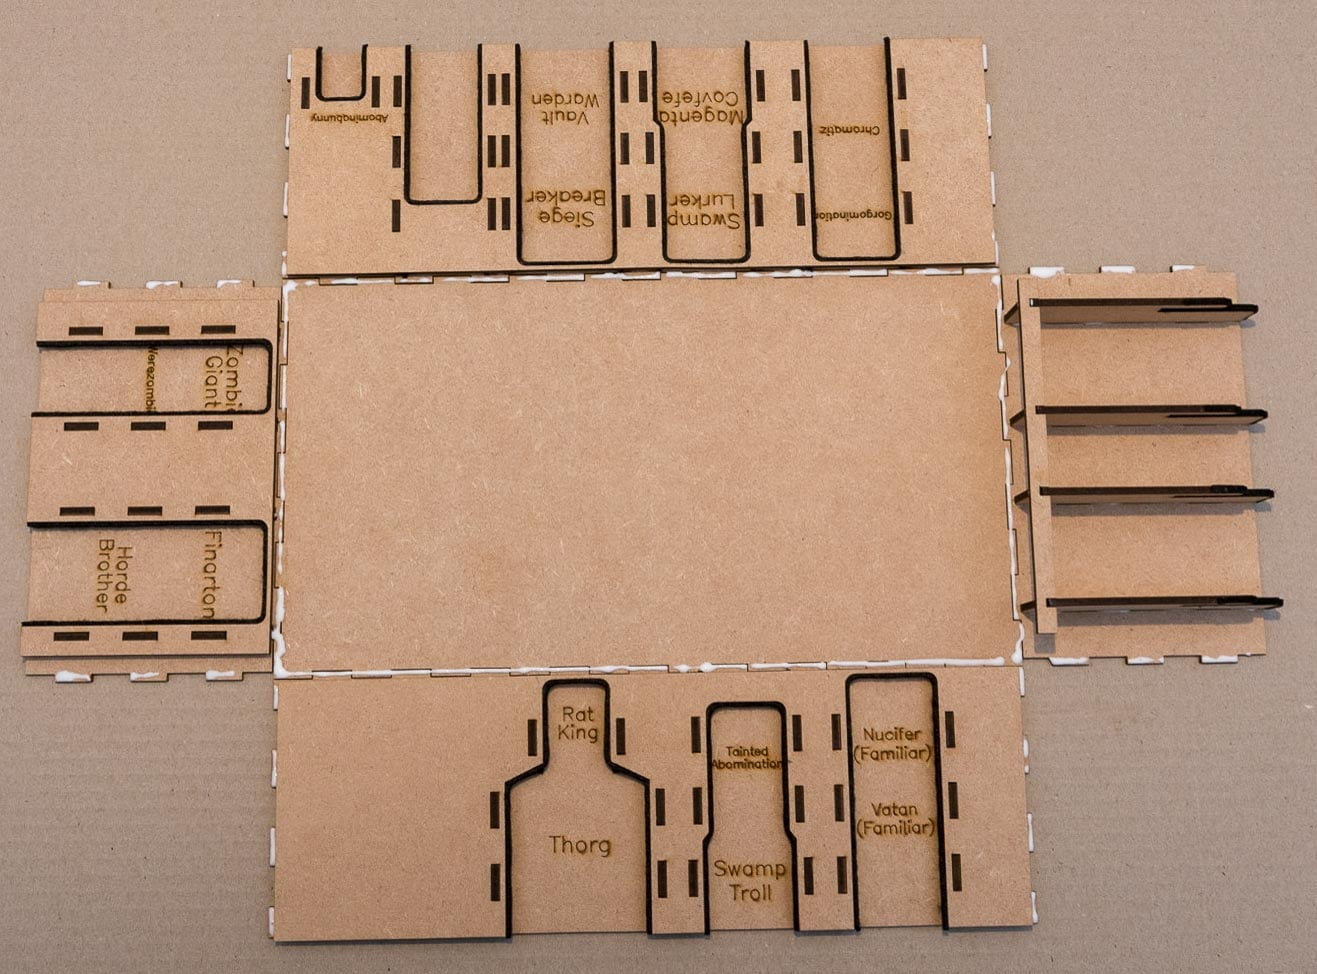
The image above shows the layout of the pieces for the abominations box. Note the five different types of rails and their relative locations (click for bigger image)

- Use the regular sliding tray instructions to assemble the three sides of the tray shown above. Use the Abominations felt pieces for the rails and inside of the slots.
- Skip to 9 if your kit does not include felt lining.
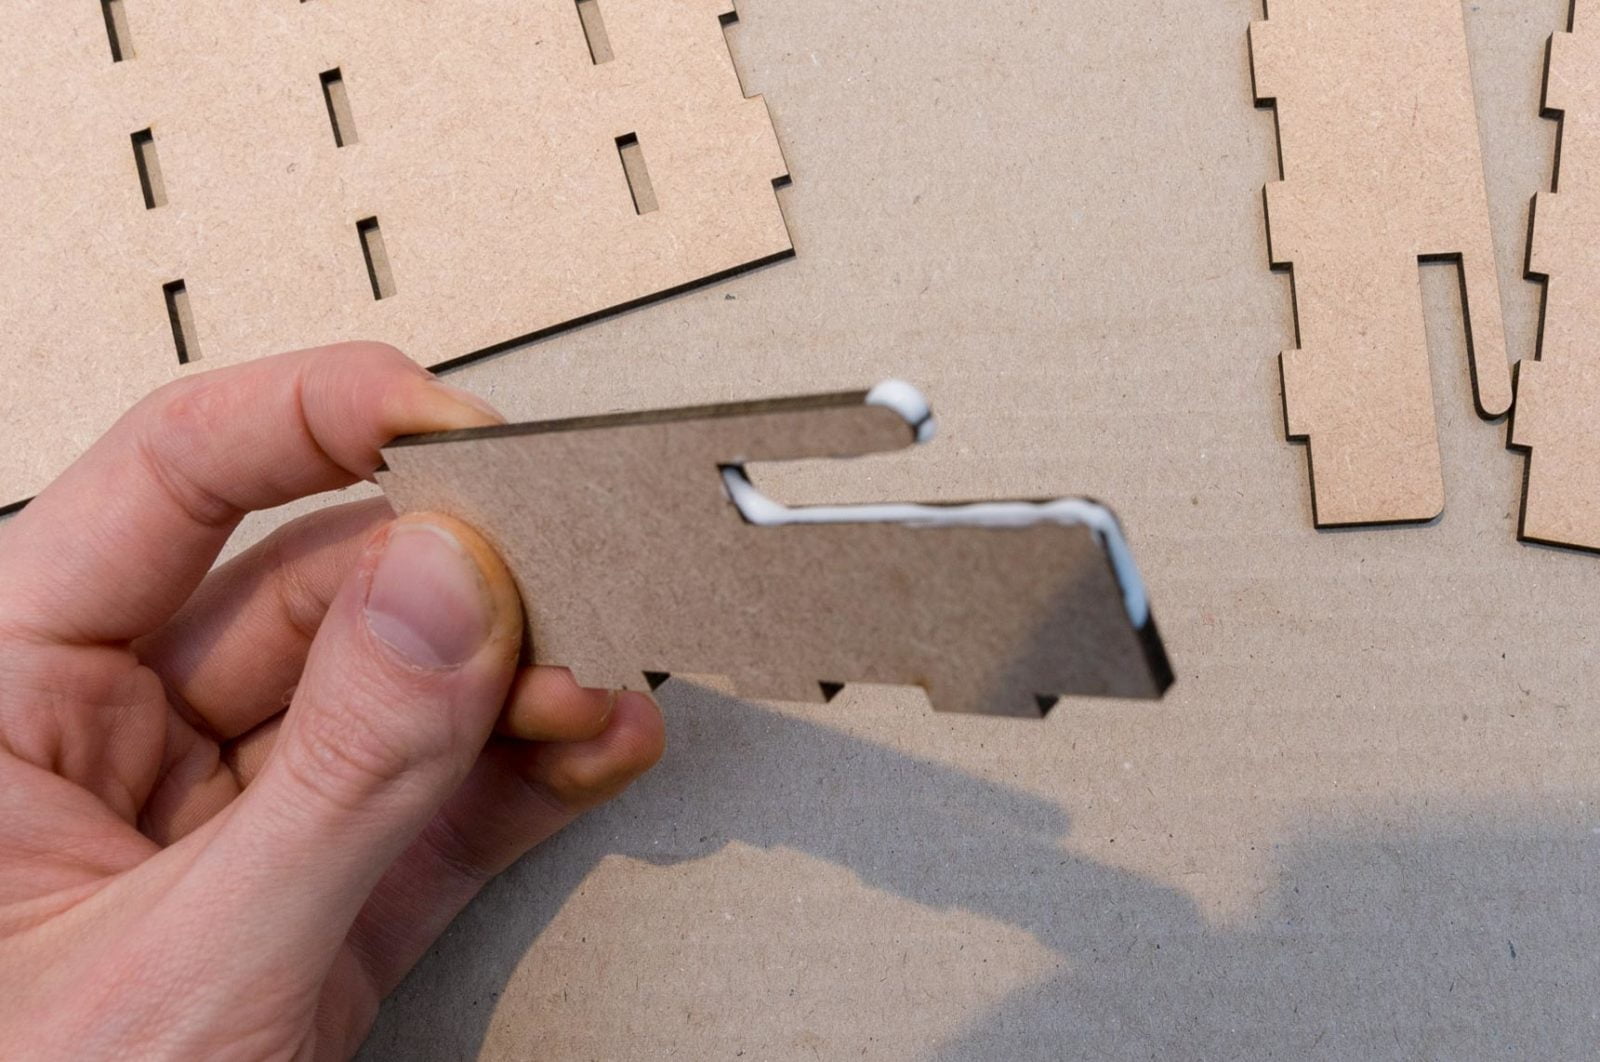
- On each of the ballista holder pieces, run a thin layer of glue around the inside of the slot, down the front, and part way along the top.
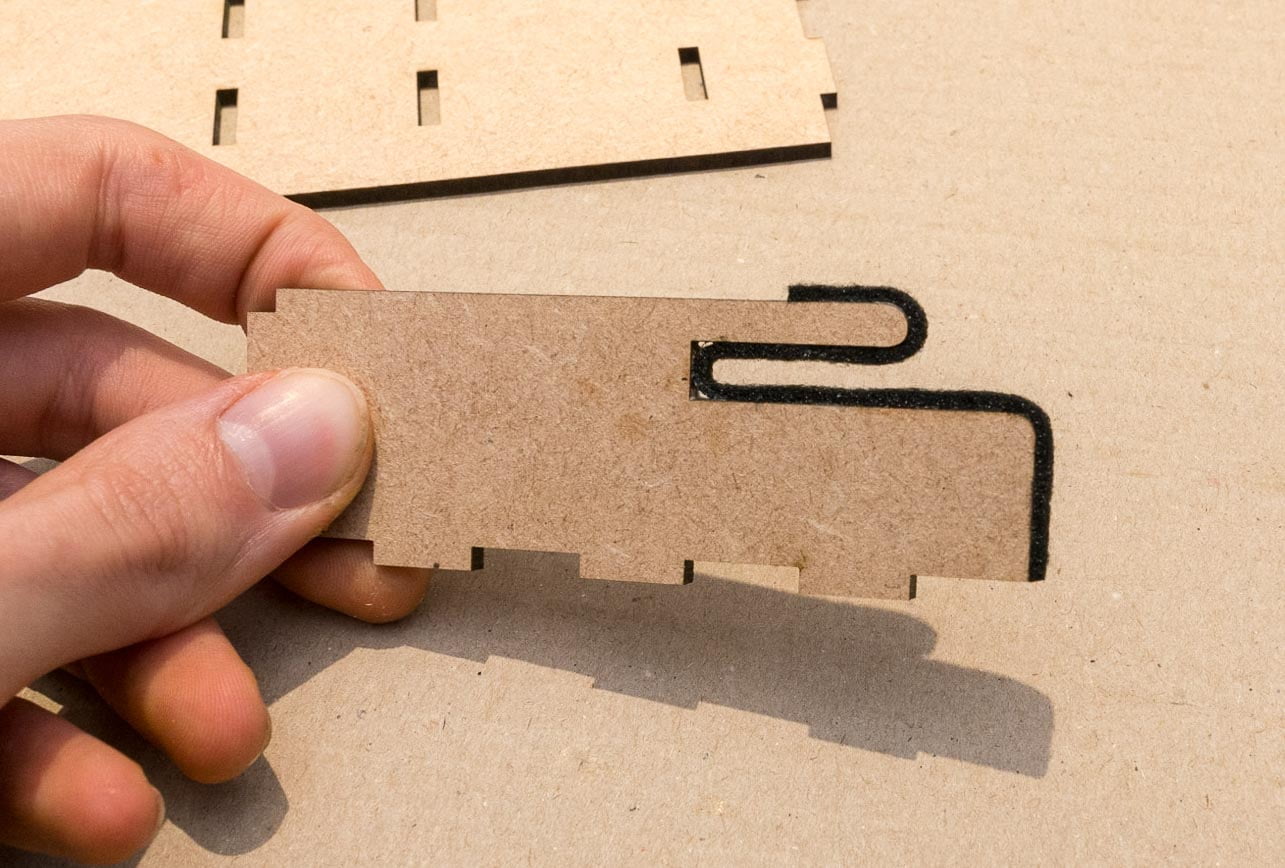
- Cut a piece of felt from the abominations pieces, fold it in half, and insert into the slot on the ballista holder.
- Push the felt into the corners of the holder. The back of the blade of a pair of scissors is helpful for this.
- Continue wrapping the felt around the top and bottom edges.
- Once the glue has dried, cut off the excess felt.
- Repeat 3-7 for other ballista holder pieces.
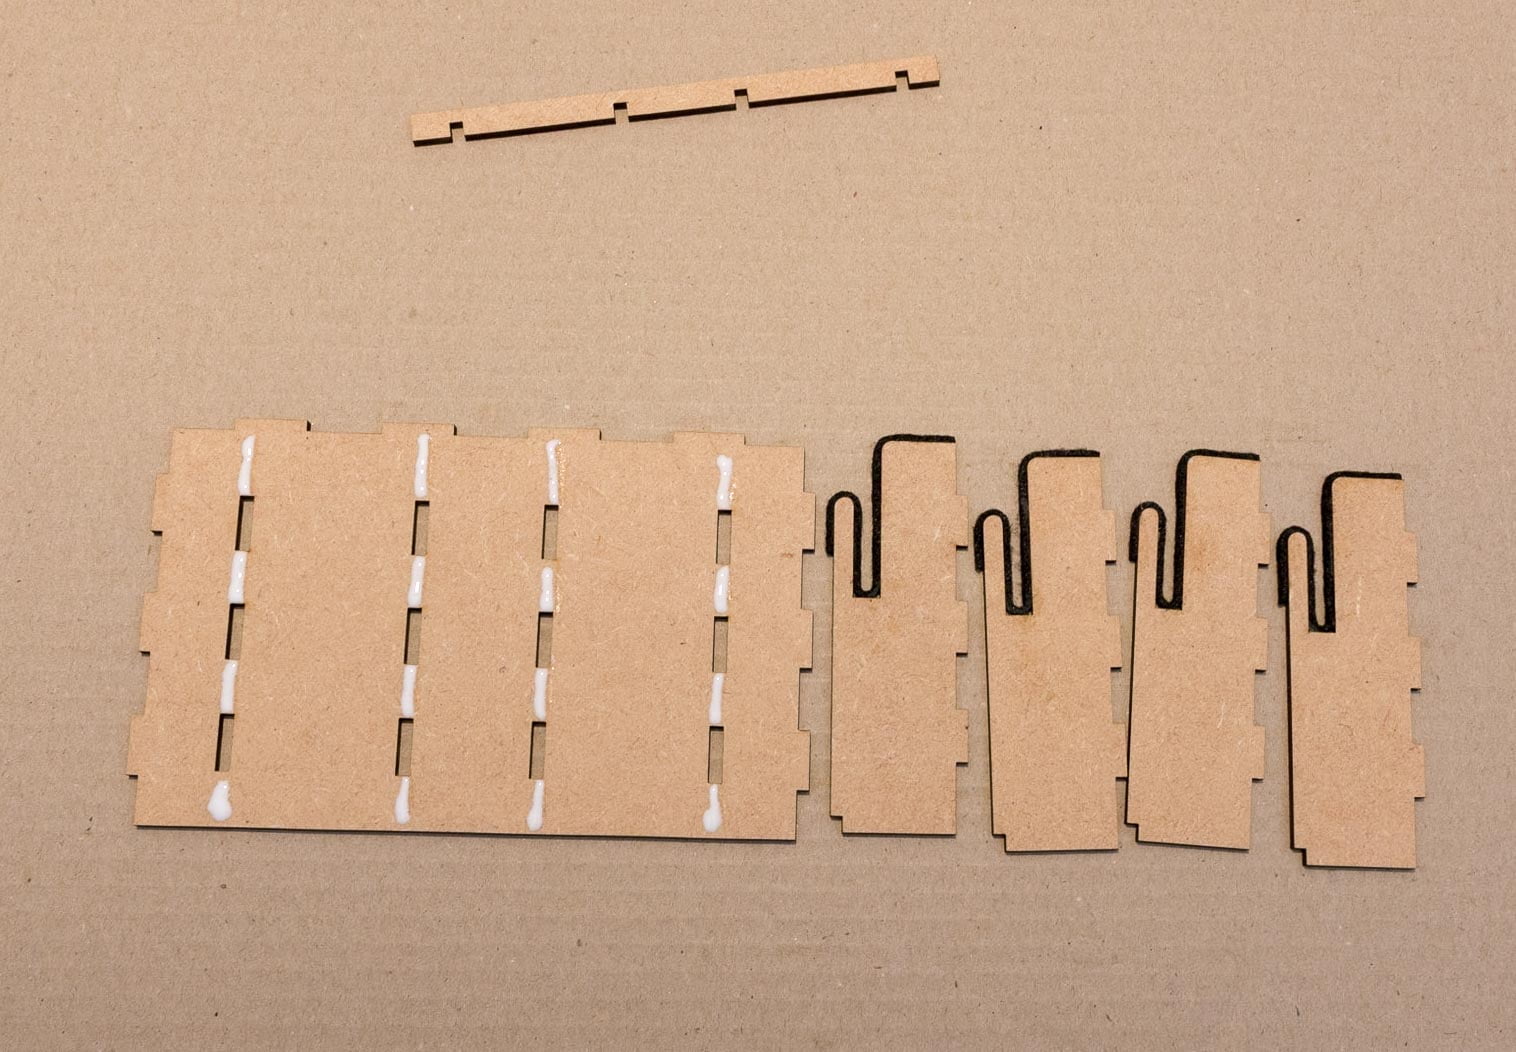
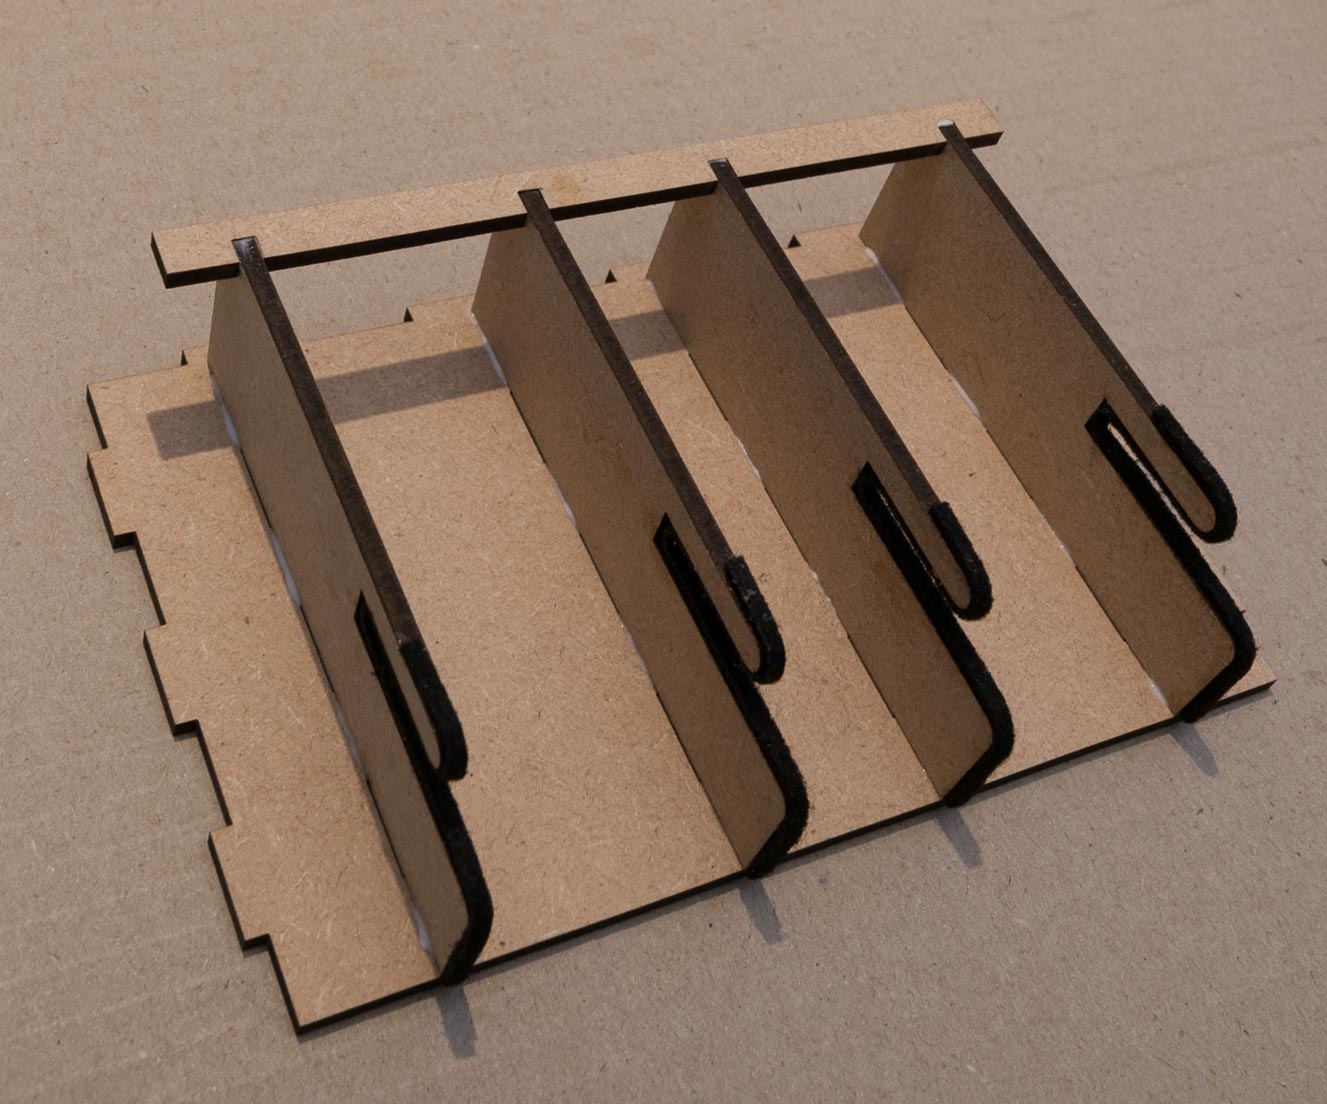
- Apply glue to the slots for the ballista holders.
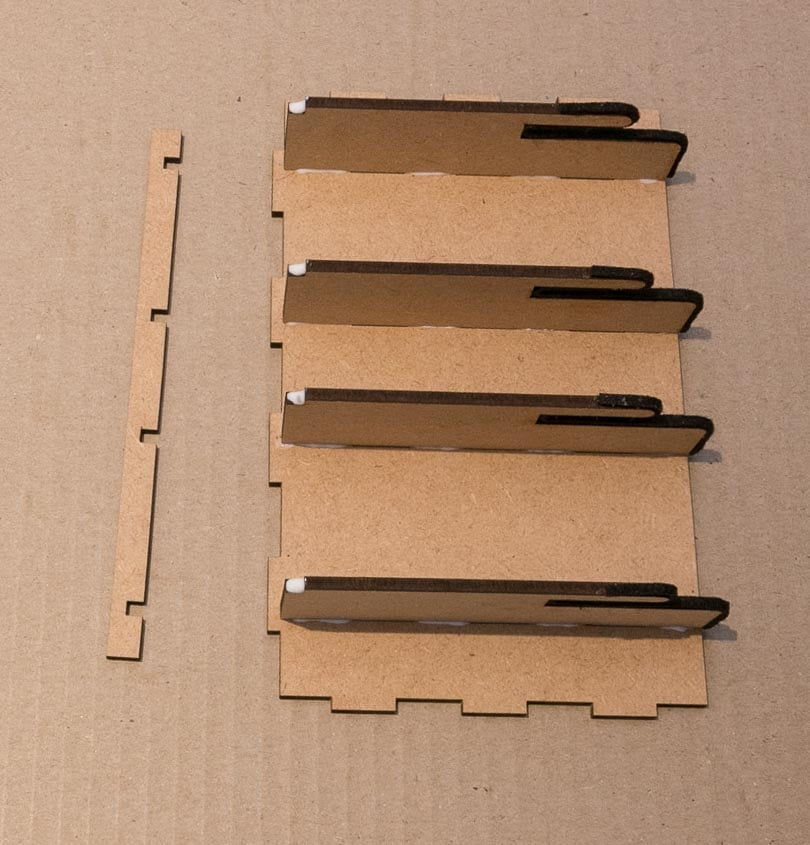
- Insert the ballista holders into the slot, ensuring that the front lines up with the smooth edge for the top of the box.
- Add a little bit of glue to the notch in the back corner of each of the ballista holders.
- Insert the support bar to align all of the ballista holders.
- Lay all four sides of the box around the base as shown. Ensure these are all the correct way around as this is important to ensure the miniatures all fit within the box.
- Apply glue along all the joints as shown.
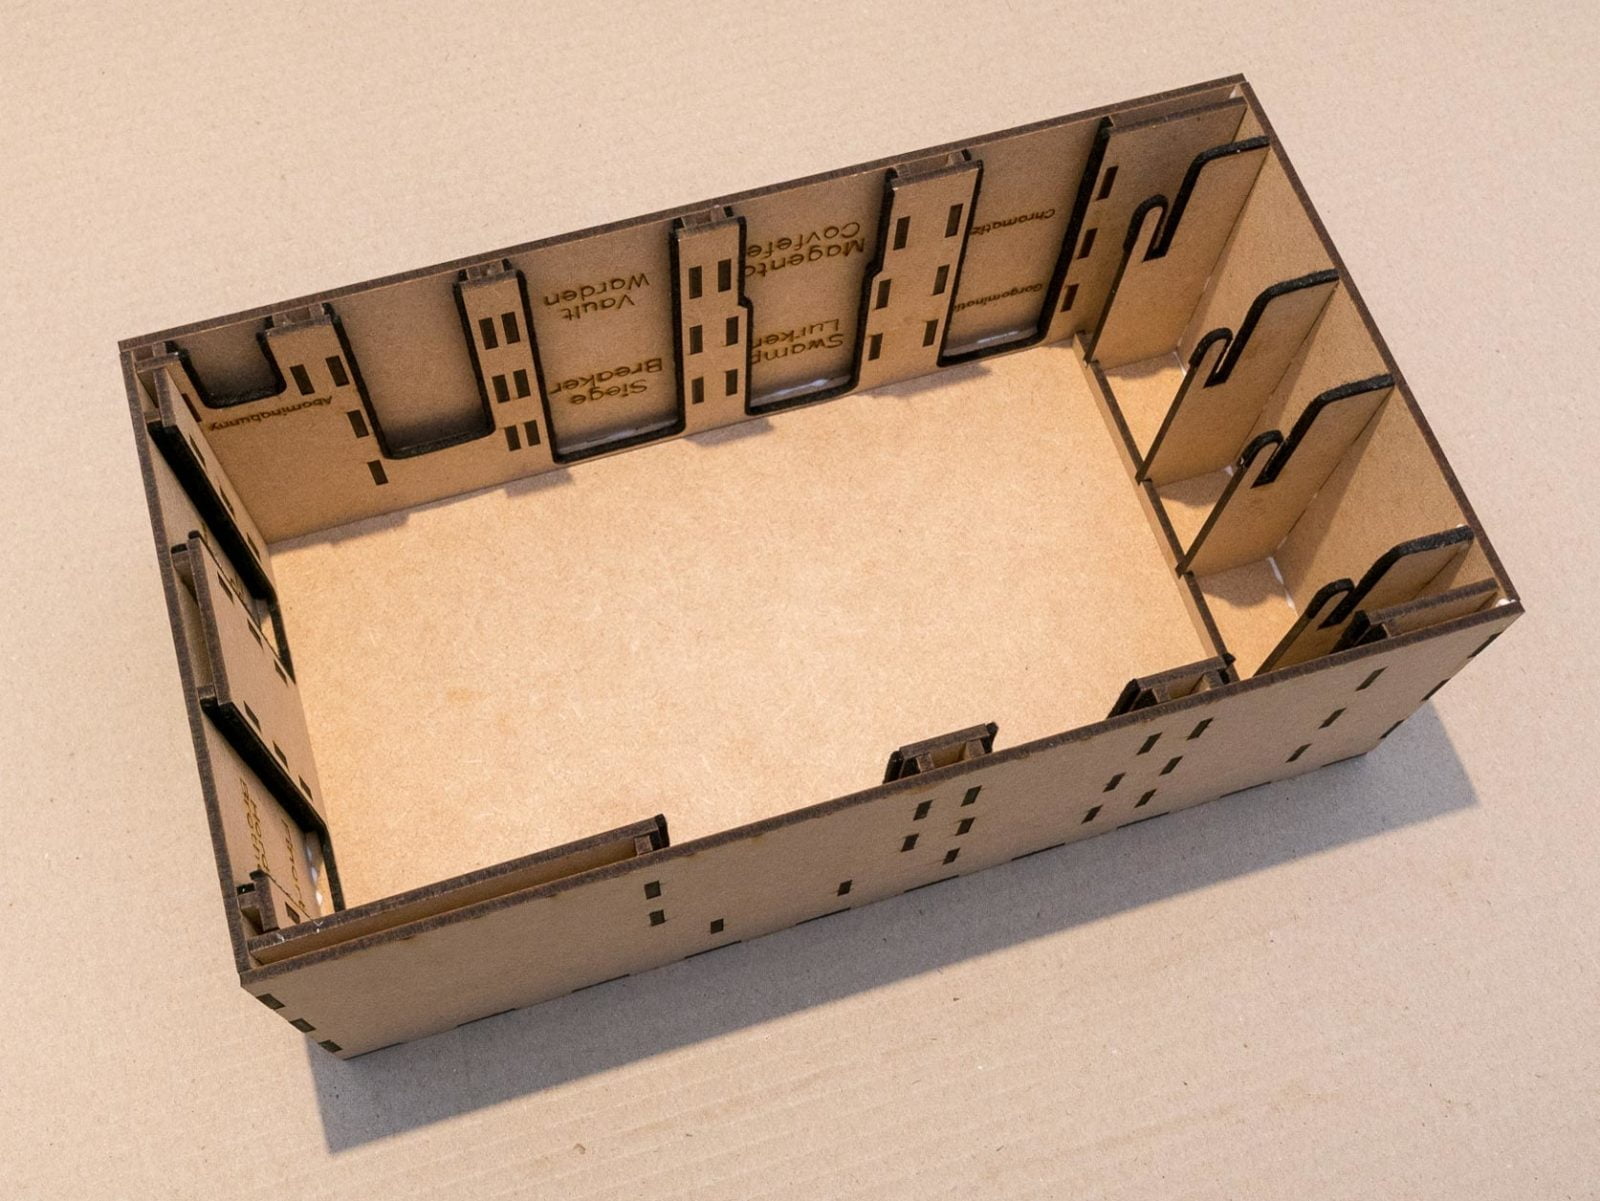
- Fold up each of the sides in turn to assemble the box.
- Turn the box over, then work around the joints squeezing them together, whilst wiping away any excess glue with a paper towel.

