Assembly Instructions
Gripper Trays – Assembly Instructions

These instructions cover gripper trays from multiple inserts. The exact number of grippers and layer may vary depending on which game you are building an insert for.
Equipment and Preparation
To assemble the trays you will need:
- Wood glue/PVA, ideally quick drying with a fine nozzle on the bottle.
- Paper towel, for cleaning up excess glue.
- Piece of card, or something to protect your work surface. You will get glue on it!
- Scissors (felt lined versions), for trimming felt strips to length.
- Sandpaper (optional), for cleaning up burn marks on boxes.
- The kit you are trying to assemble!
Felt Lining
If you didn’t purchase the felt lining upgrade, you can skip this section and move on to the main assembly section.
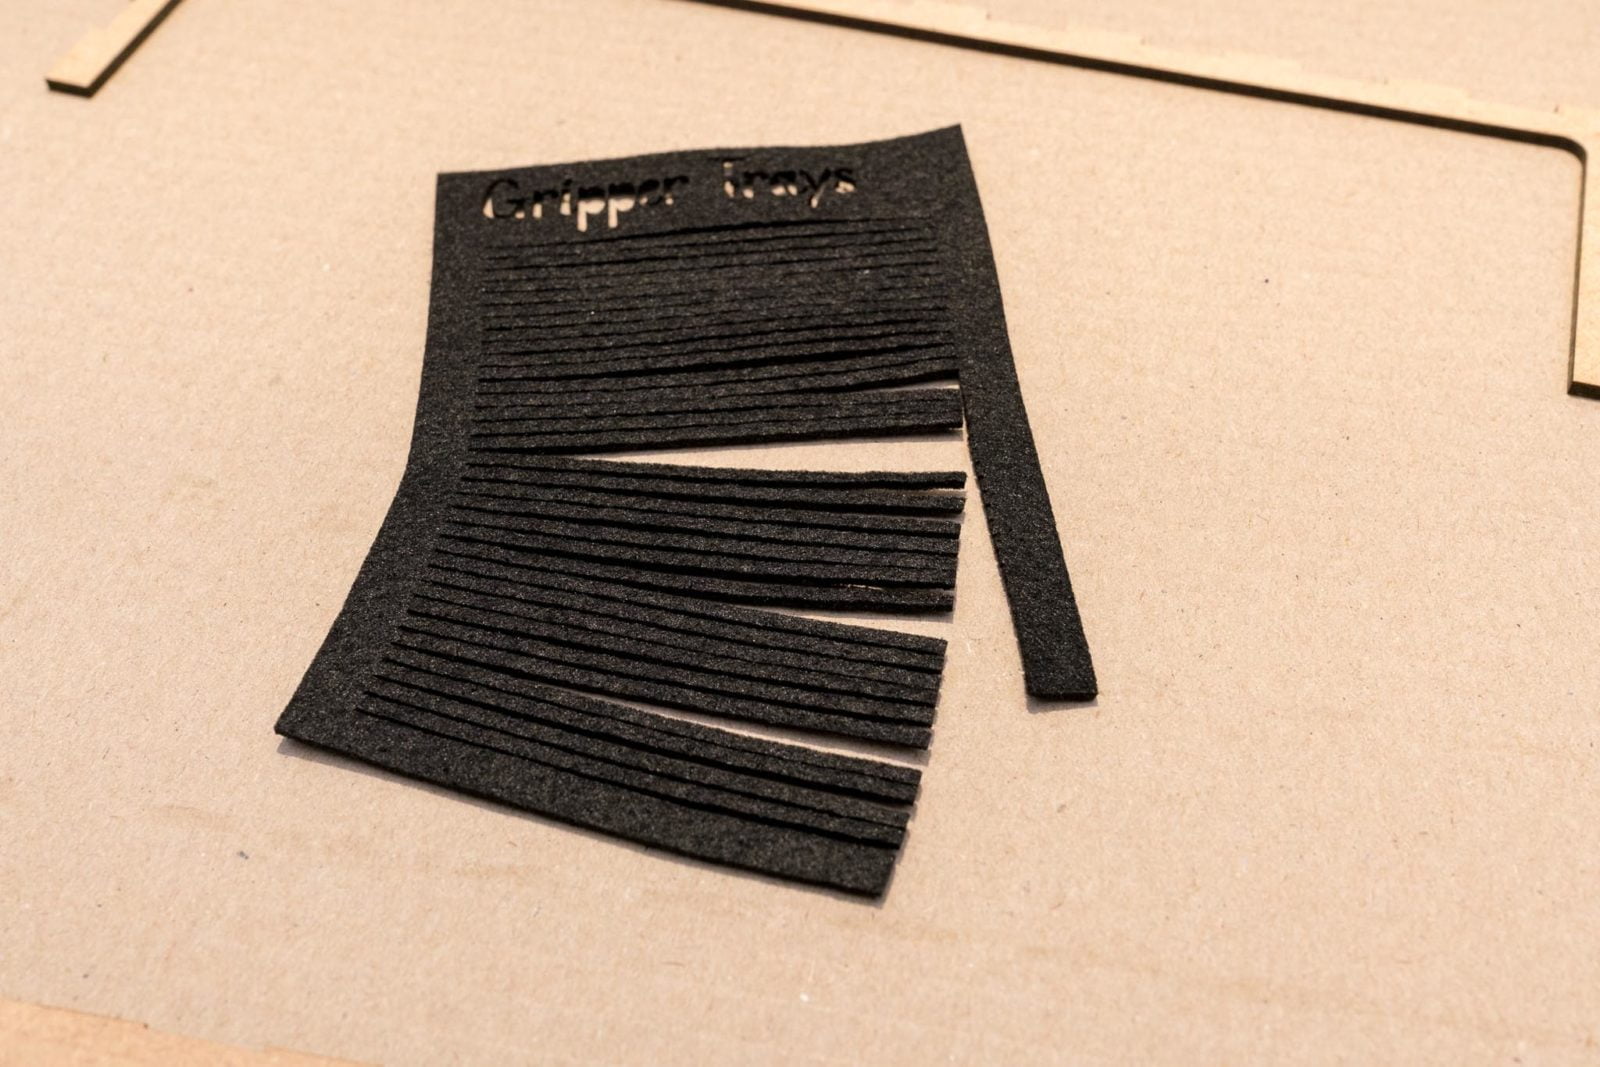
- Cut an appropriate number of strips of felt from the gripper trays piece.
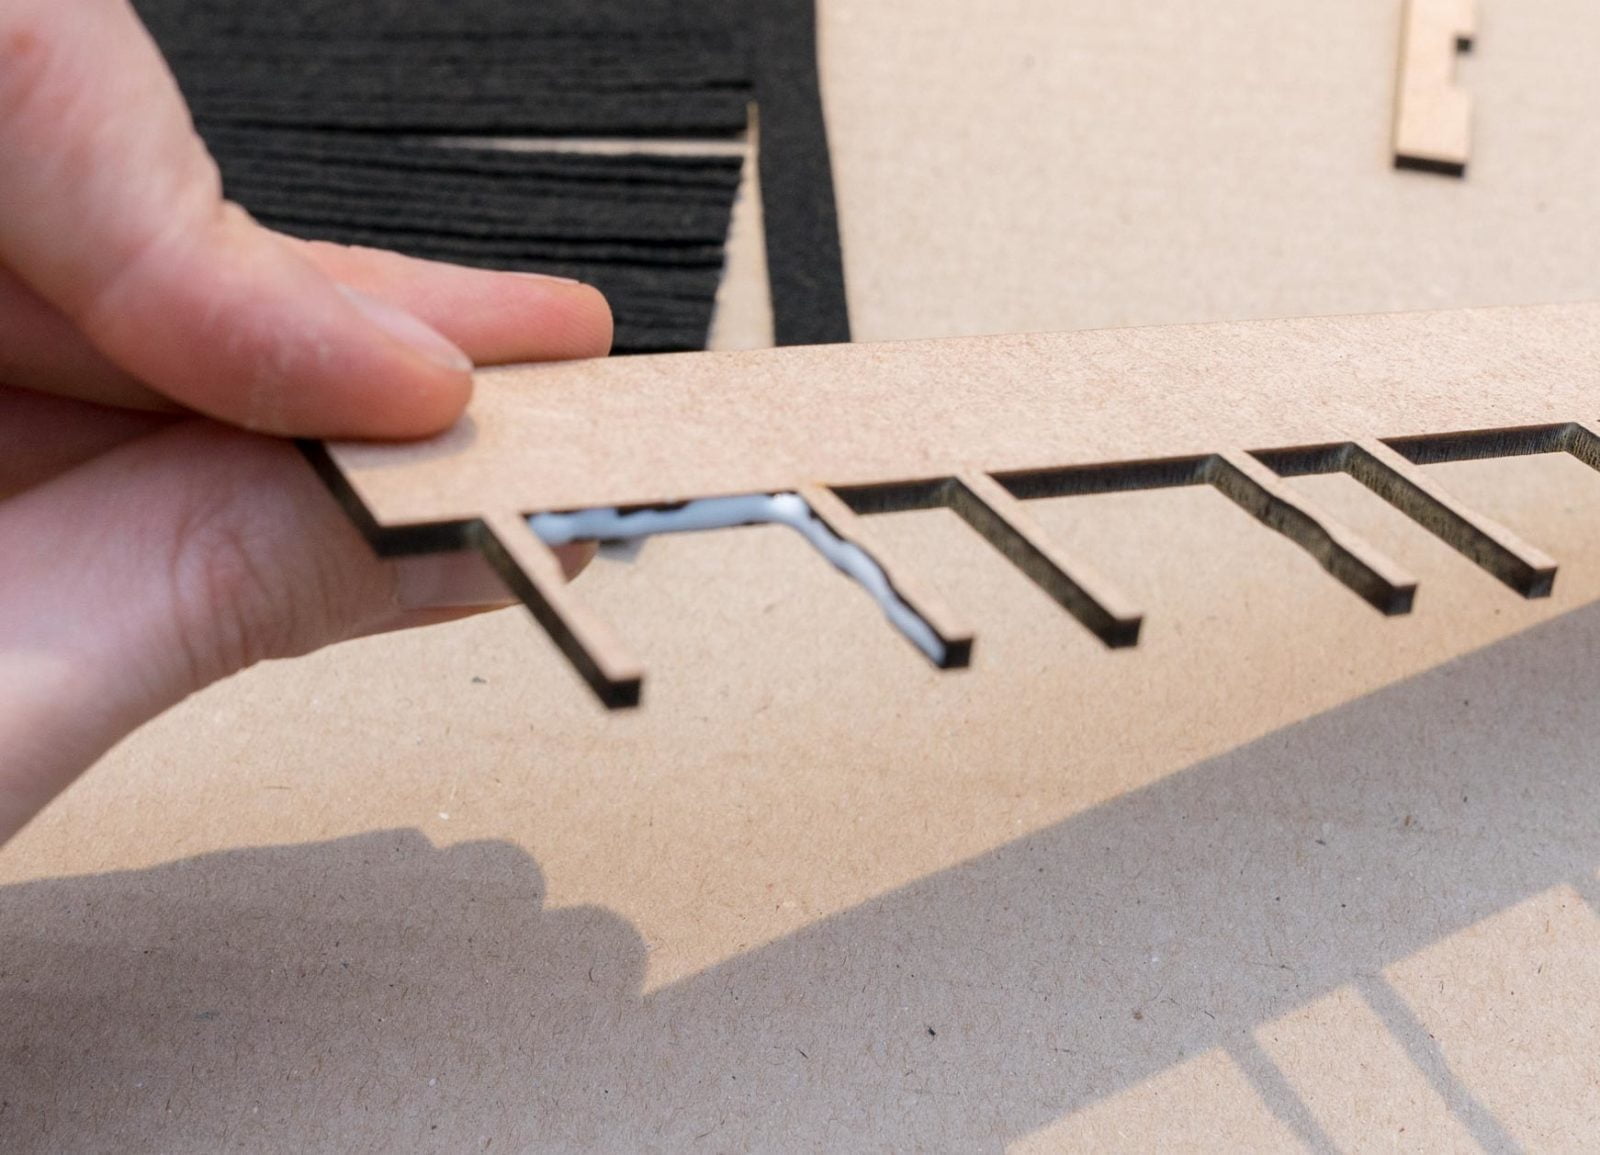
- Run a thin line of glue along the inside edge of a slot
- The felt strip has two distinct edges, one which has been laser cut, and may appear shinier than the original felt surface, and the other more regular felt face. The regular face should end up in the glue, with the opposite regular face against your miniature.
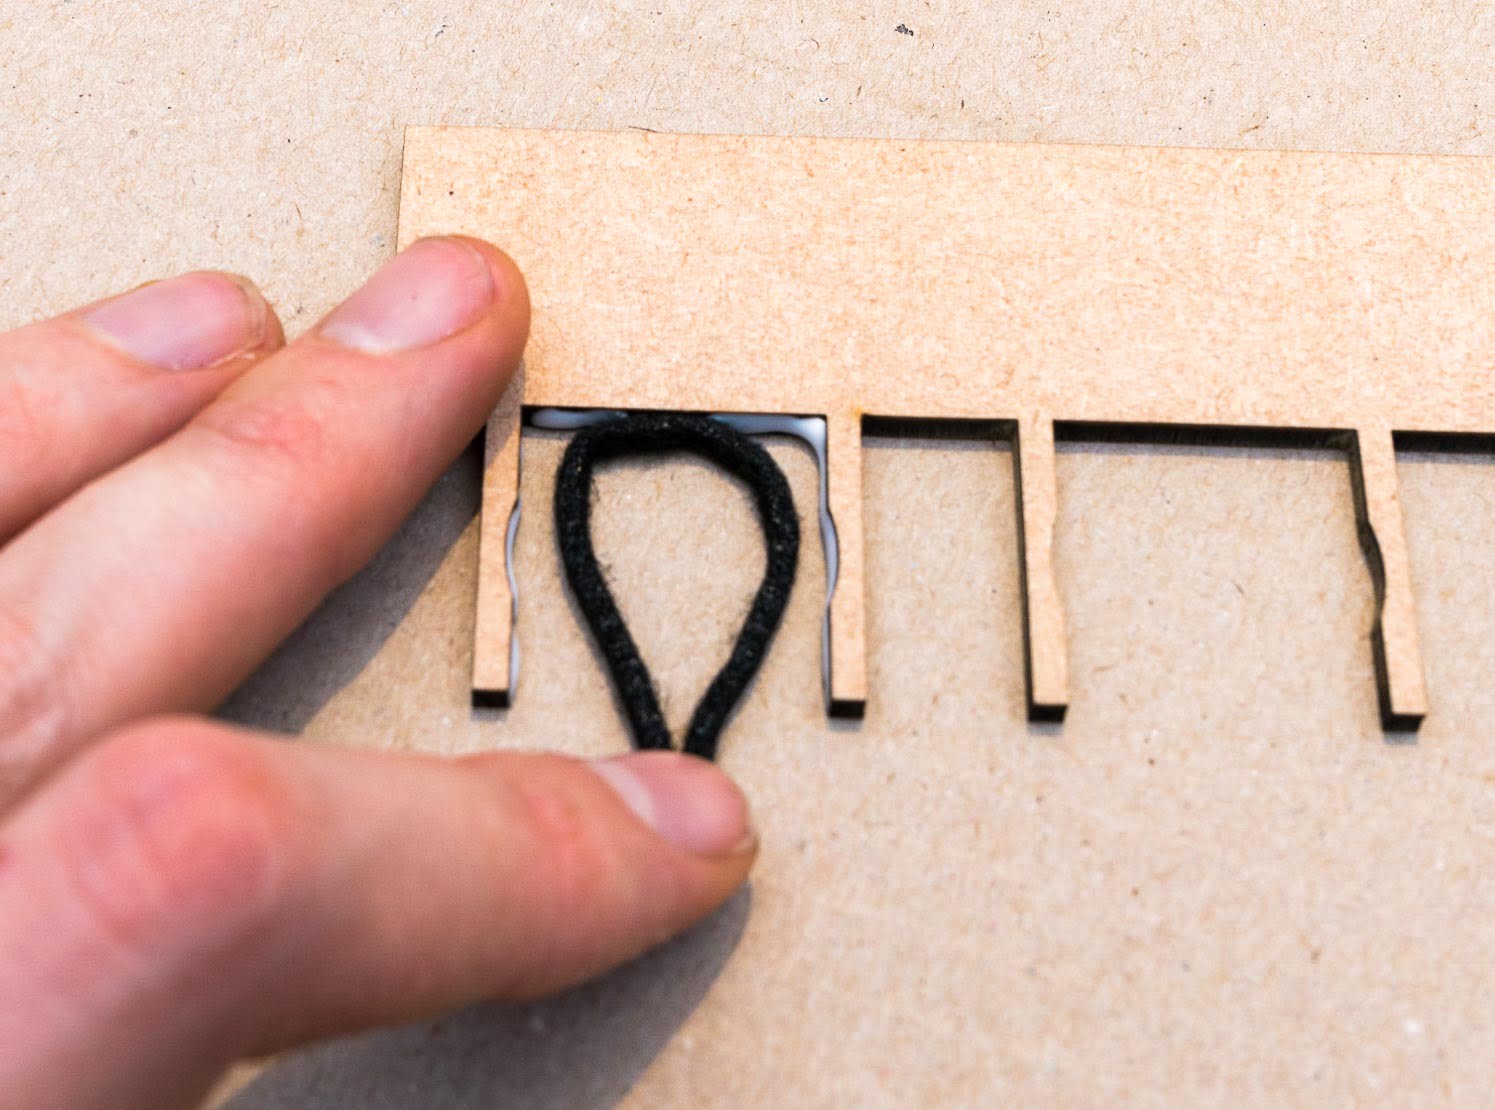
- Bend the felt strip in half and insert into the slot.
- Gently push the strip into the corners of the slot, then along the length of the slot.
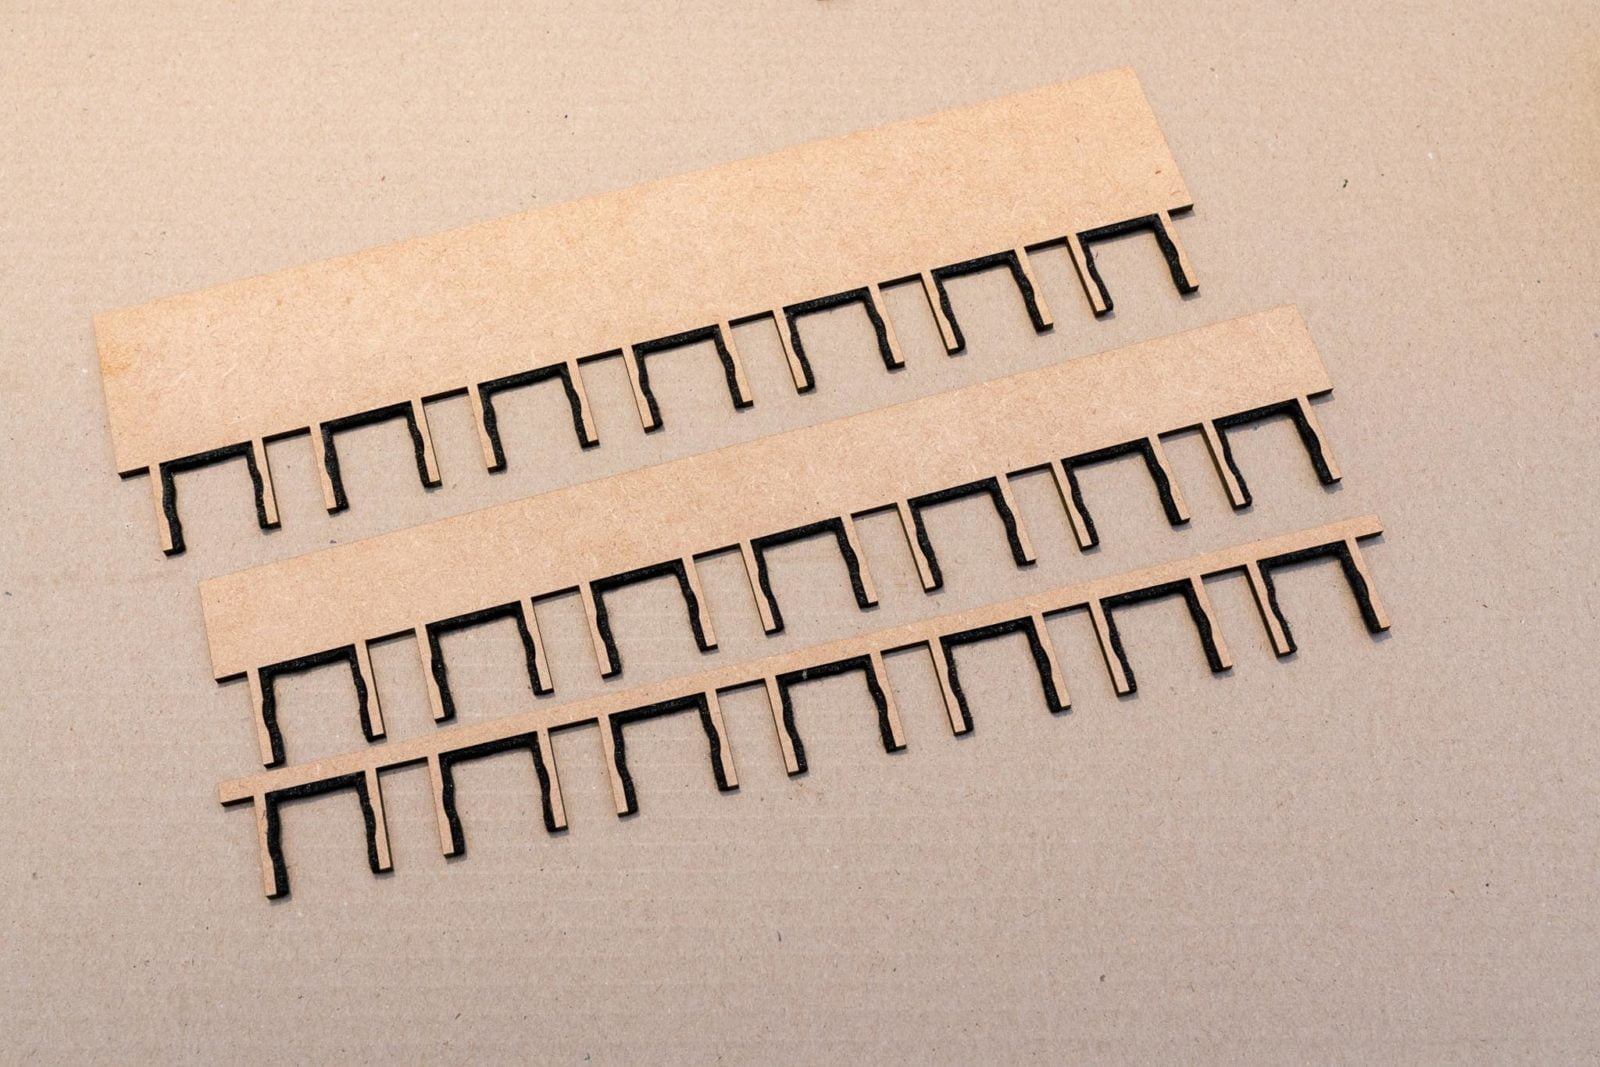
- Repeat steps 2-5 for each slot on each layer.
- Once the glue has had a chance to dry, use scissors to cut the felt strips to length
Tray Assembly
Gripper trays are built in two stages, first the empty tray is built, then the gripper sections are added afterwards. The tray build should feel familiar if you have previously built our regular sliding trays.
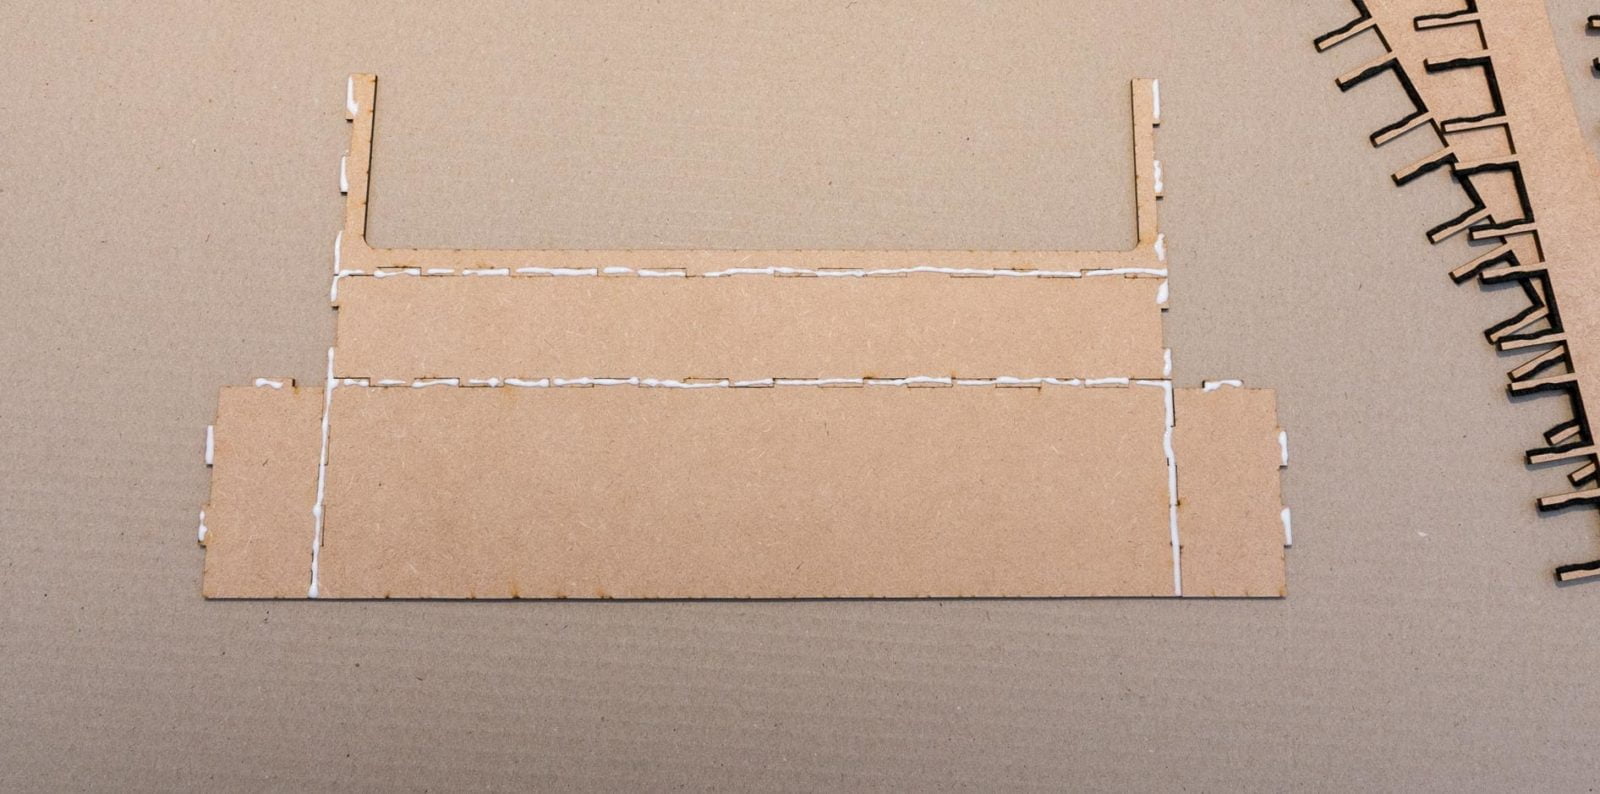
- Lay out the pieces of the tray as shown. If the end pieces have been engraved, check that you have laid them down such that they fold up with the text the correct way up.
- Apply a thin line of glue along the areas shown in the pictures.
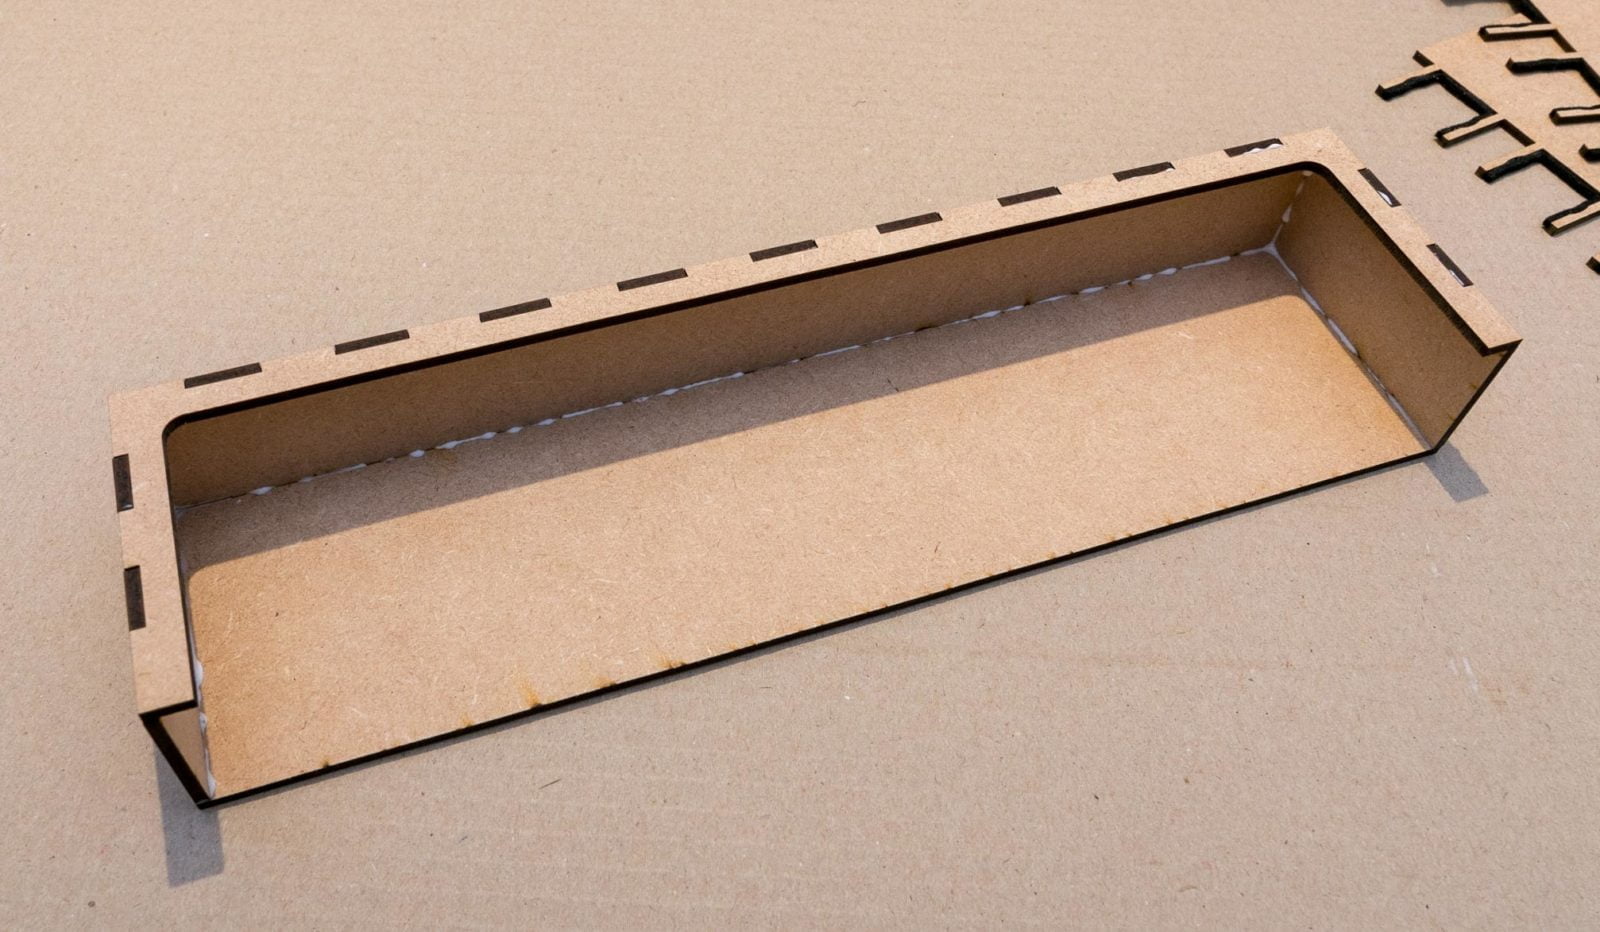
- Fold up the back and sides of the tray, then fold the top over.
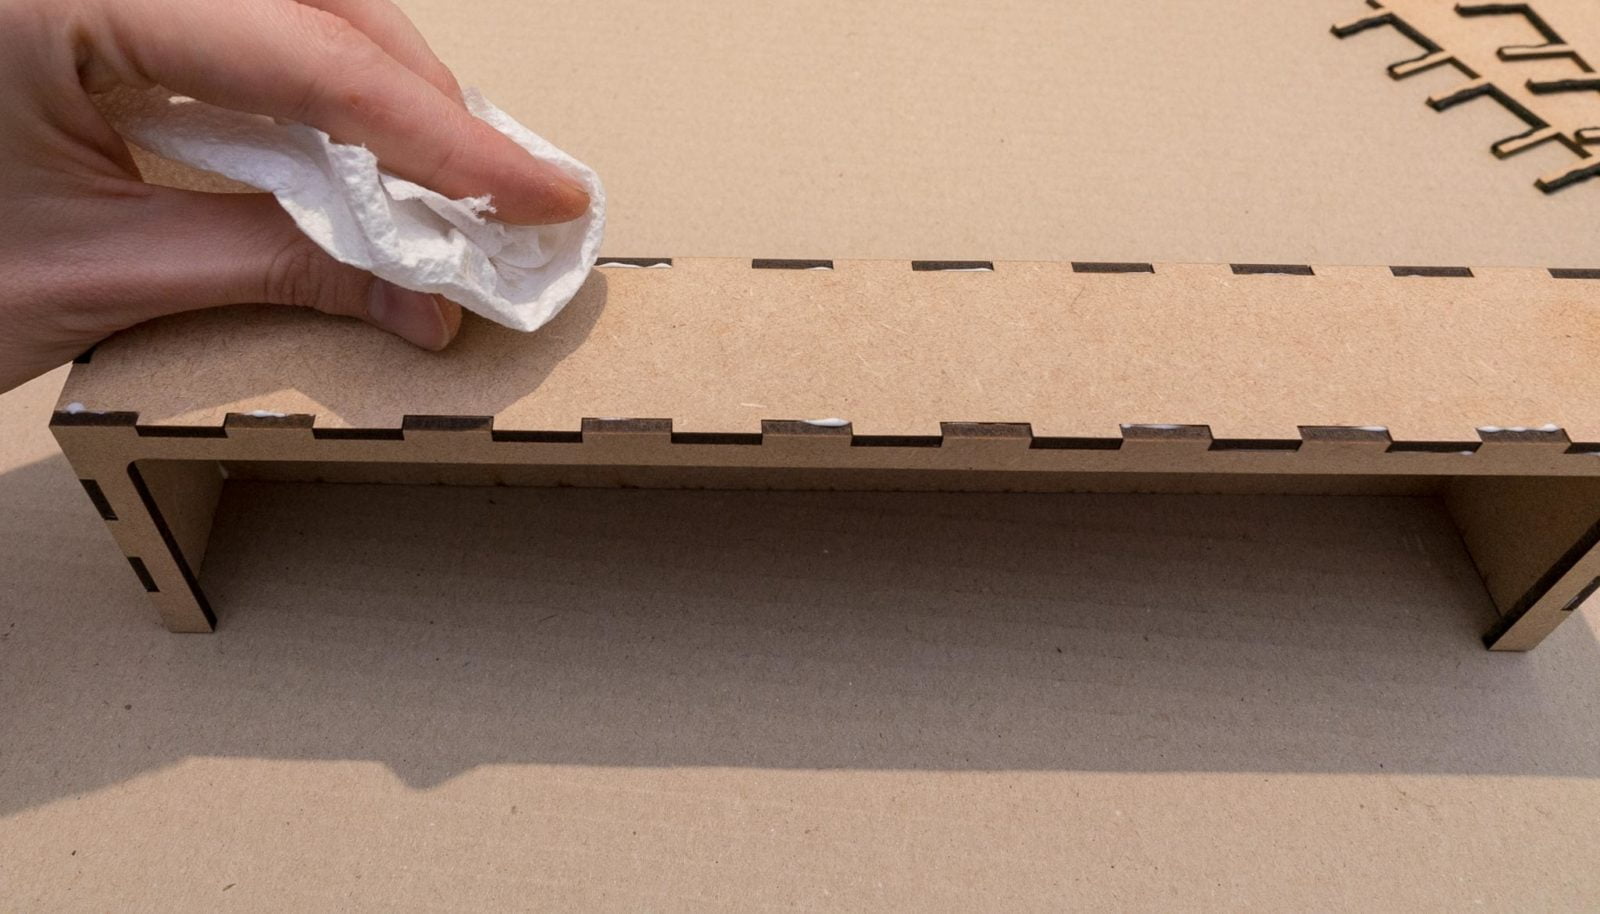
- Work around all of the joints of the tray, squeezing them tightly together. Use a paper towel to wipe up any excess glue that is forced out.
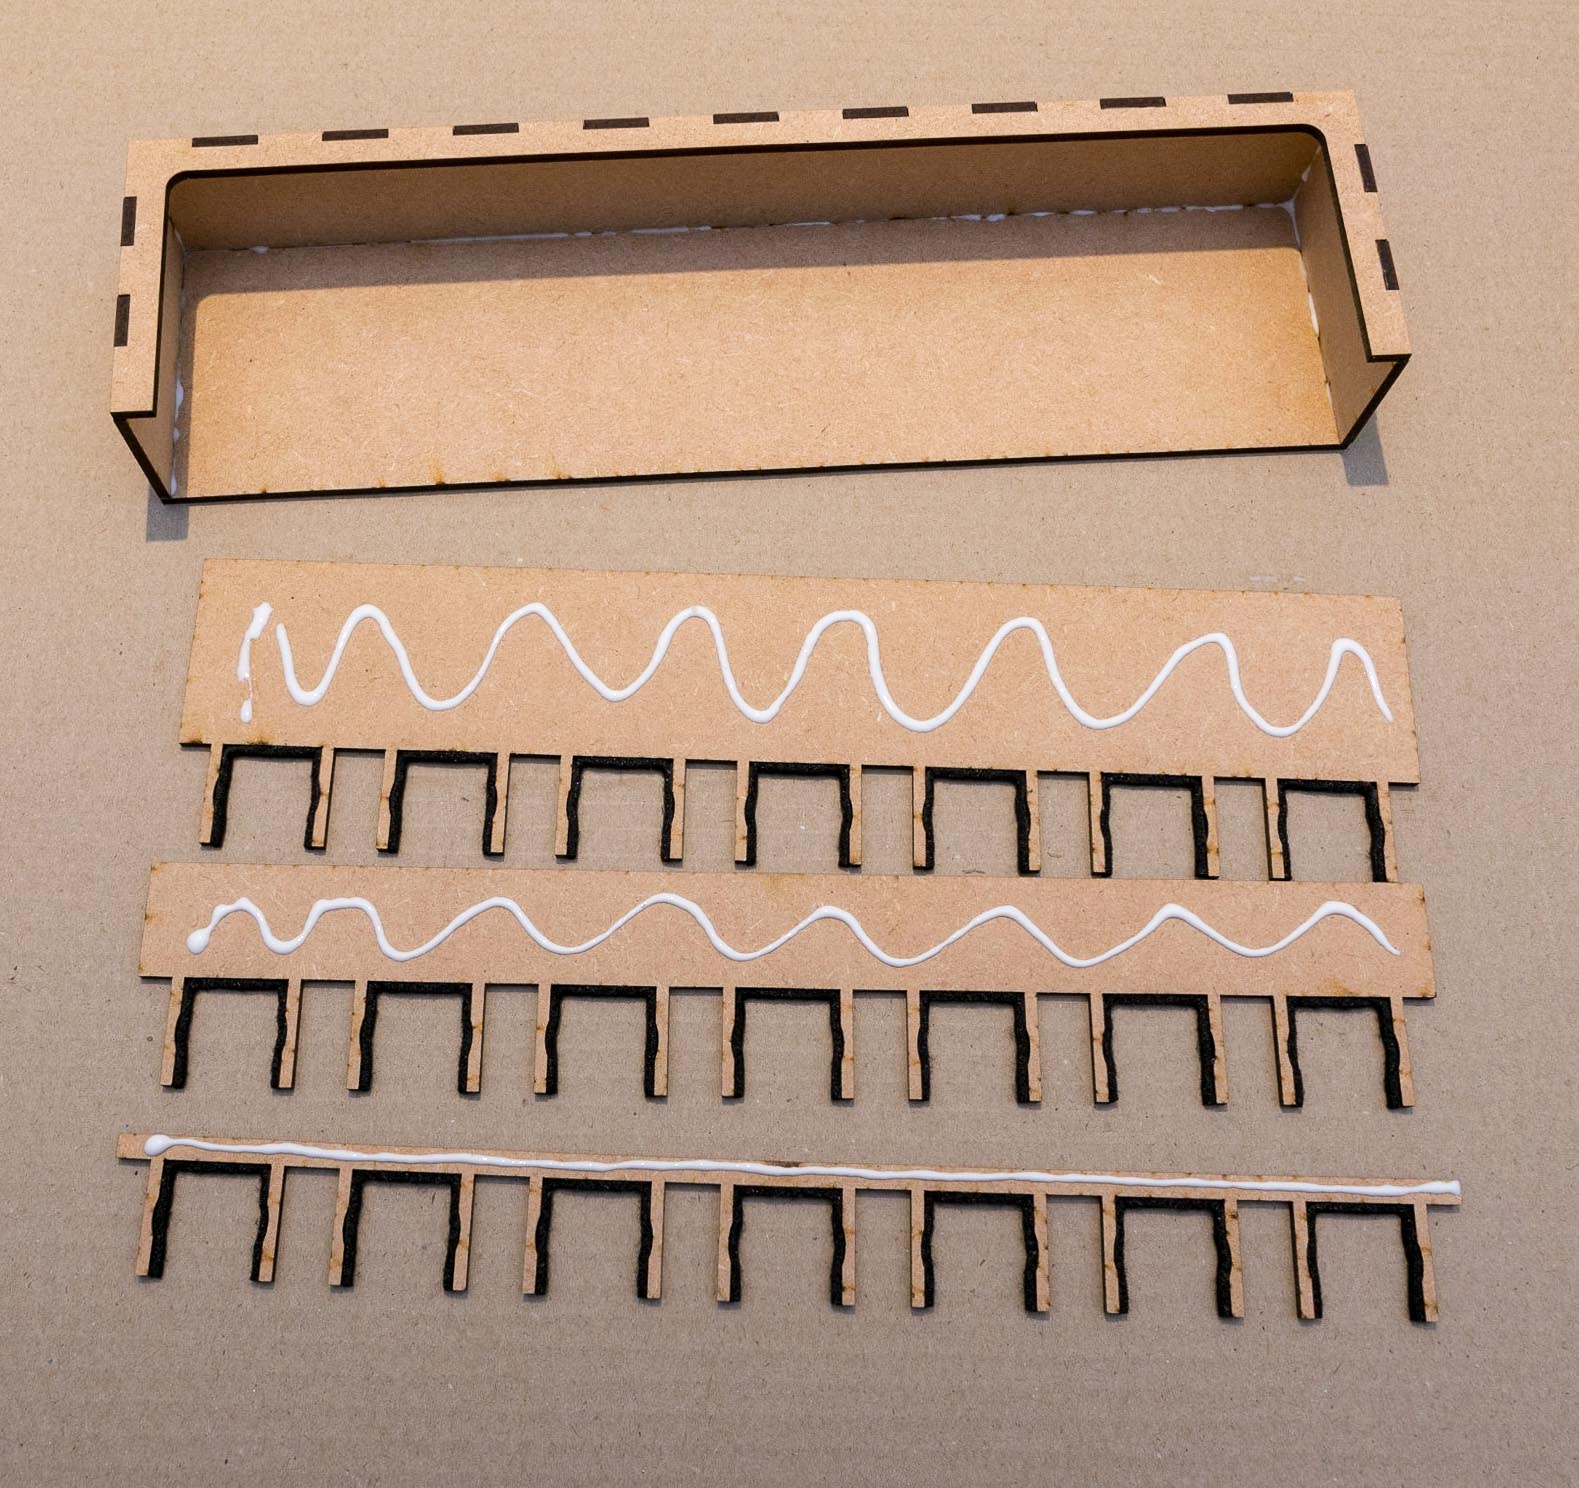
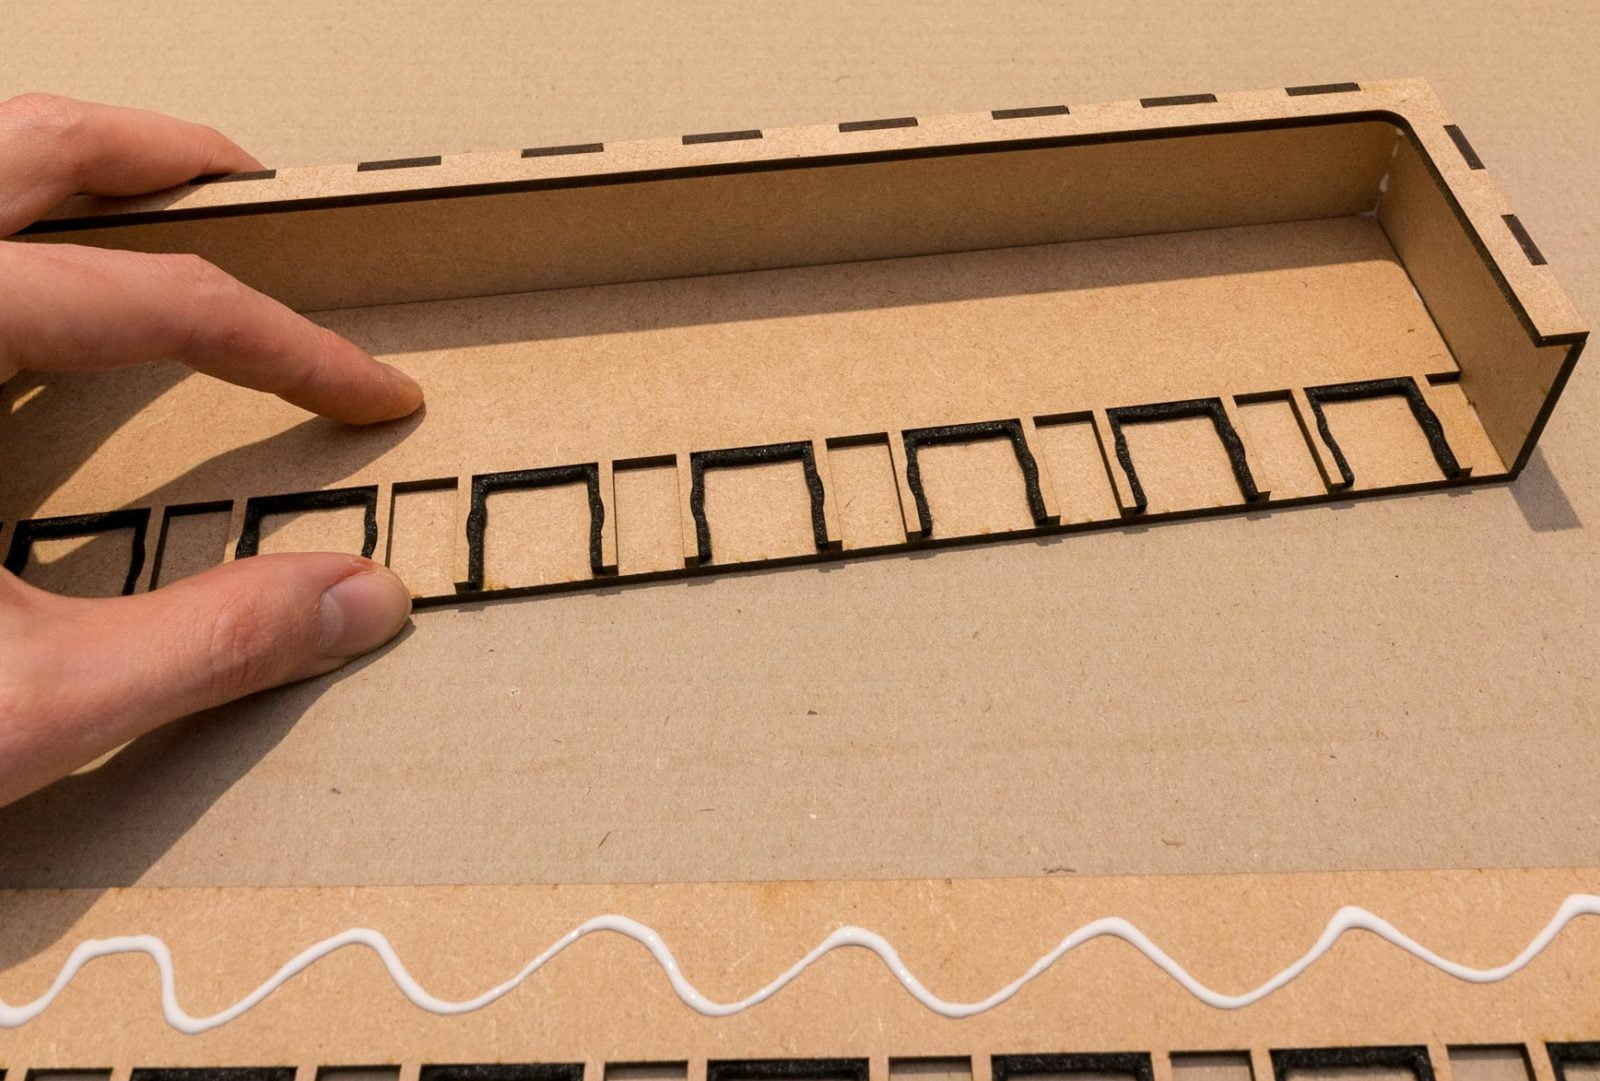
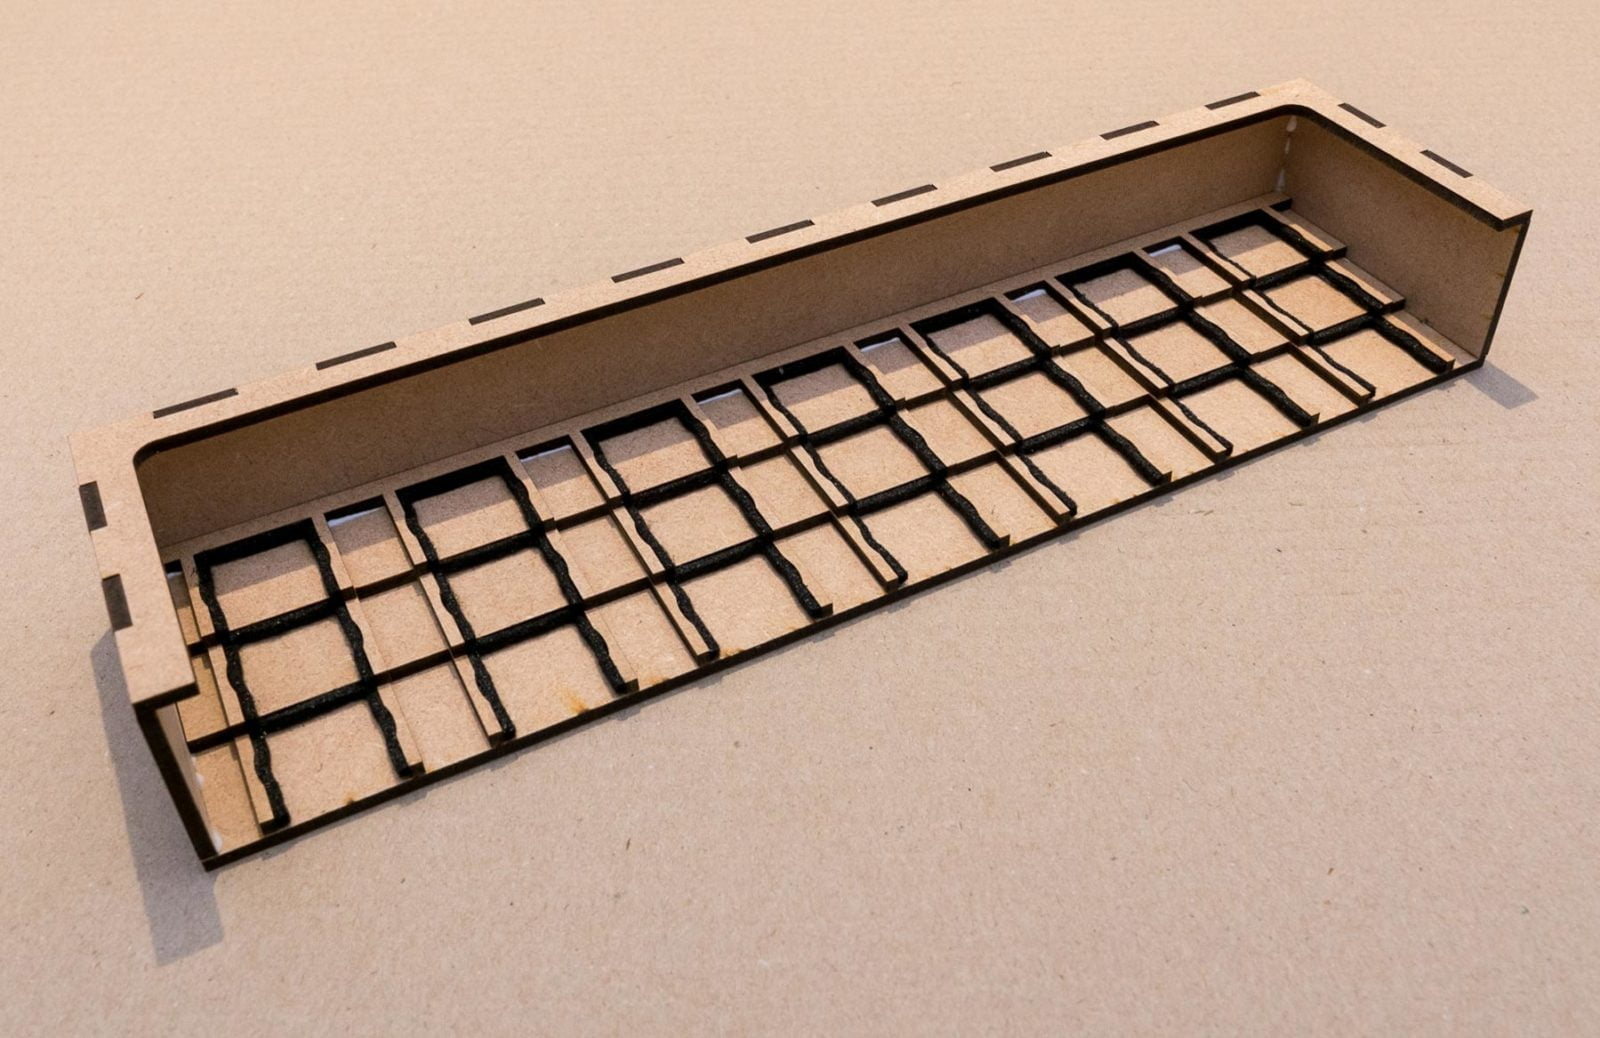
- Apply glue to the mounting area of the gripper pieces. Make sure not to get glue on the flexible arms as these need to be able to move and bend to hold the miniatures in place.
- Insert the gripper pieces into the tray, starting with the biggest, then moving down in size.

